So we have our Microsoft Teams app set up, and can successfully authenticate to get a user’s information. But we’ll probably want to more with Teams. To do that, we’ll need to ask for more permissions from the user, which we’ll do during auth with “scopes”. Depending on what we want to do, we’ll need to ask specific scopes that covers that functionality. One note, we’re mostly focusing on Work accounts… Personal accounts are fairly limited in what they allow for Personal/Free Teams tenants.
Delegated vs Application scopes
The Microsoft docs have a full list of scopes that you’ll probably want to bookmark if you do anything with the Graph API. The first thing you may notice is that there are “delegated permissions” and “application permissions”.
There’s a page that goes into detail about everything, but basically, Application permissions are set on your app’s page in the Azure portal. They’ll be that same for everyone, you set the “scope” parameter to https://graph.microsoft.com/.default , and they’ll all require a Teams admin to consent for users to use them. I’ll go into admin consent in a moment.
Delegated permission are added to “scope” parameter and can either require admin consent or not. The delegated permission allow for more flexibility, so that’s what we’ll be using. Also, there are a few Graph API endpoints that don’t require an admin to consent to them, so it opens up more possibilities.
To Admin Consent or Not to Admin Consent
There are quite a few API endpoints that only provide basic information about various parts of Teams, and don’t require a Teams admin to consent to them. Though, there are still cases where an admin locks down their tenant so much that even non-admin consent endpoints may not work.
For example, if we want to get a list of Teams that a user is a member of, during auth, we’ll need to request one of these scopes: Team.ReadBasic.All, TeamSettings.Read.All, TeamSettings.ReadWrite.All, User.Read.All, User.ReadWrite.All, Directory.Read.All, Directory.ReadWrite.All. In the documentation, they list the scopes needed in order of least privileged to most privileged, meaning how much data your app will have access to. It’s best practice to use the lowest privilege that your app needs, but once you know what endpoints your app needs to hit, you may be able to use an elevated one to cover multiple endpoints.
In the “list of Teams” example, we can ask for the “Team.ReadBasic.All” scope, which does not require an admin to approve its usage. However, if we notice we also need to be able to update a user’s info, we’ll need to request “User.ReadWrite.All” which does require an admin to consent… and we could just use that single scope to cover both endpoints.
If we decide to use the “application permissions” instead of delegated ones, they ALL require an admin to consent. This likely means a non-admin user would try to login, then get stopped on Microsoft’s scopes page without being able to continue. So let’s stick with non-admin, delegated permissions to see what we can do…
Getting a channel list
For this task, we want to get all the channels a user is a member of. Luckily, we can get that data without (generally) needing an admin to approve it. Let’s update our login method:
Route::get('login', function () {
$authUrl = 'https://login.microsoftonline.com/common/oauth2/v2.0/authorize';
$query = http_build_query([
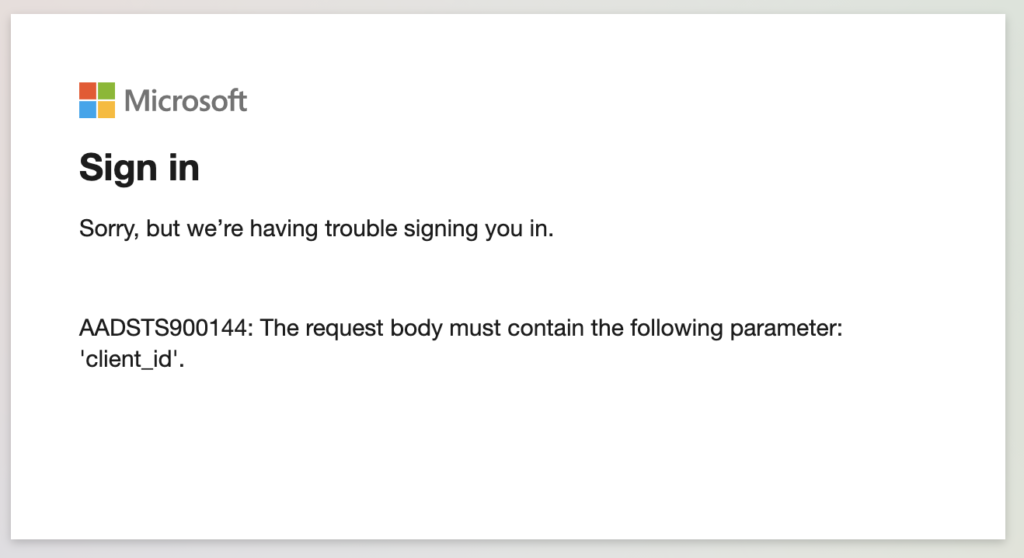
'client_id' => config('services.microsoft.client_id'),
'client_secret' => config('services.microsoft.client_secret'),
'response_type' => 'code',
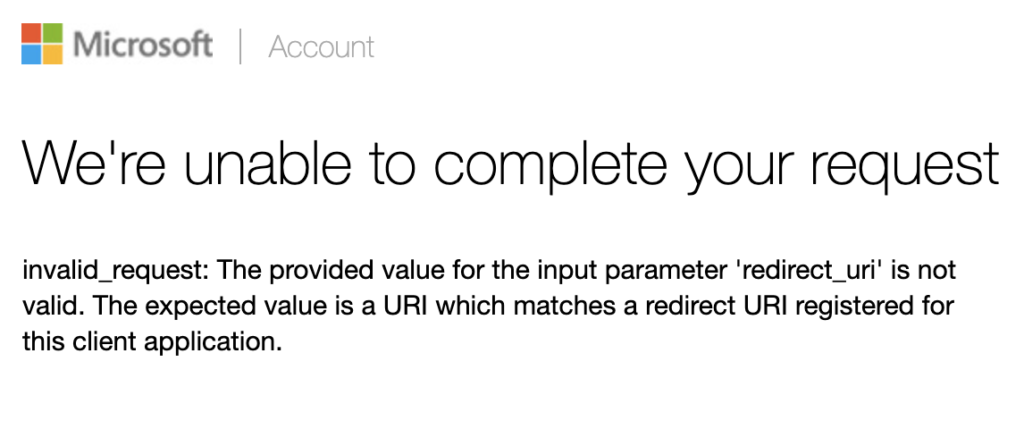
'redirect_uri' => secure_url('/login-redirect'),
'scope' => 'User.Read Team.ReadBasic.All Channel.ReadBasic.All offline_access'
]);
return redirect()->away($authUrl . '?' . $query);
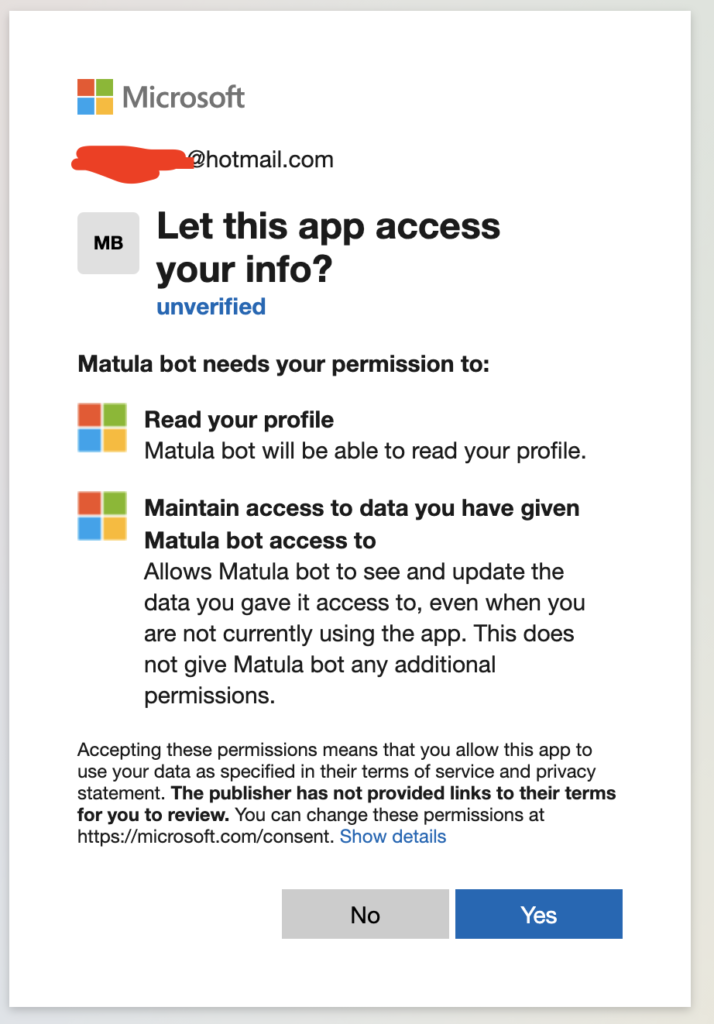
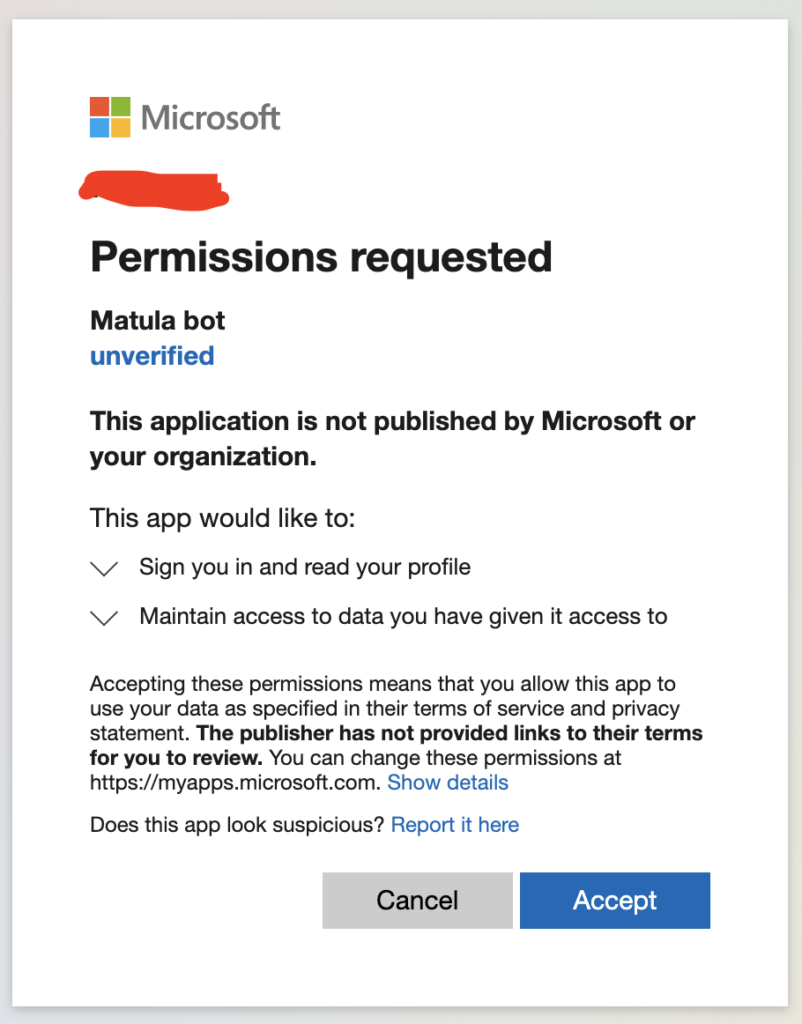
})->name('login');We added two new scopes, and those permission should now show up on the Microsoft login page
Now, after they get redirected, we can make the endpoint calls we want. First, to get the list of the Teams the user is in, grab the first Team from the list, then get the channels in that Team.
Route::get('login-redirect', function (\Illuminate\Http\Request $request) {
    $authReponse = \Illuminate\Support\Facades\Http::asForm()->post('https://login.microsoftonline.com/common/oauth2/v2.0/token', [
        'client_id'     => config('services.microsoft.client_id'),
        'client_secret' => config('services.microsoft.client_secret'),
        'code'          => $request->input('code'),
        'grant_type'    => 'authorization_code',
        'redirect_uri'  => secure_url('/login-redirect')
    ]);

    $accessToken = $authReponse['access_token'];

    $myFirstTeam     = \Illuminate\Support\Facades\Http::withToken($accessToken)->get('https://graph.microsoft.com/v1.0/me/joinedTeams')['value'][0];
    return [
        'id'          => $myFirstTeam['id'],
        'name'        => $myFirstTeam['displayName'],
        'description' => $myFirstTeam['description'],
        'channels'    => \Illuminate\Support\Facades\Http::withToken($accessToken)->get('https://graph.microsoft.com/v1.0/teams/' . $myFirstTeam['id'] . '/channels')['value']
    ];
})->name('login.redirect');
Now, after logging in, authenticating, and being redirected back to our site… we should get something like this:
{
  "id": "aaaaaaaa-bbbb-cccc-1111-123456789012",
  "name": "Matula Teams",
  "description": "Main Team for the Matula Tenant",
  "channels": [
    {
      "id": "19:aaaaaaaaaaaa@thread.skype",
      "displayName": "General",
      "description": "Check here for organization announcements and important info.",
      "email": "",
      "webUrl": "https:\/\/teams.microsoft.com\/l\/channel\/19%3...",
      "membershipType": "standard"
    },
    {
      "id": "19:bbbbbb@thread.skype",
      "displayName": "Teams Teamy Teamteam",
      "description": "So many Teams",
      "email": "",
      "webUrl": "https:\/\/teams.microsoft.com\/l\/channel\/19%...",
      "membershipType": "standard"
    },
    {
      "id": "19:ccccccc@thread.skype",
      "displayName": "Secret Teams. Shhhh",
      "description": null,
      "email": null,
      "webUrl": null,
      "membershipType": "private"
    }
  ]
}
Now, with just adding a few scopes, we’re able to get some good information about the user’s Teams and the channels they’re in. In the next post, we’ll see about a practical application for all this.